GIF Banners and Ways of Creating Them
Explore
Mar 17, 2021
Updated Mar 17, 2021
Animated advertisements are extremely popular around the internet. At the same time, there are many different formats that you could store an animated ad with, and many ways of creating such an ad. GIF banners are among the most widespread file formats that support animation as a whole.
GIF (Graphics Interchange Format) is a specific image format that allows for animation to be played. Most of the tools that offer animation-related functions are capable of working with GIF as a format. At its most basic, an animated banner in a GIF format consists of a number of still images that are played one by one to create the illusion of a moving picture.
Customizing that sequence of still images is the bulk of the GIF creation process, if you’re already done with your basic picture.
How to make a GIF banner with Photoshop
Our first example is Photoshop, as an incredibly versatile tool that allows for a lot of image editing, animation editing, and so on. Now we’ll go over the simplified process of how to make a GIF banner, with some specific examples in mind:
For starters, you’ll have to create or open a document you’ll be working with. Templates are often used at this step, since you’ll have to input several parameters manually if you’re creating a new document from scratch (height, width, resolution, etc.)
Upload or create an image that would act as your background or your first animation frame. Dragging and dropping existing images is the simple way of doing this, and you always have the Transform mode for the correct image reshaping (Ctrl+T or Command+T).
Now, most of the following steps are going to be different depending on the animation type that you’re going for, and how smooth you want it to look like. In our example we’ll be adding a text box that would slide from the edge of the screen in the total of five frames. Click Window -> Timeframe to open the animation tab at the lower edge of your Photoshop window.
As a baseline, your existing image would already be presented as the first frame of the animation. You can use a specific icon to duplicate your frames before continuing (earmarked page icon below the timeline window).
After duplicating your first frame several times, you’ll be able to start customizing your animation. Since we want our text to slide into the frame, our first frame should not have anything but the background image visible (it’s possible to toggle different layers of every frame like you would do with regular layers - by clicking on the “eye” icon within the “layers” tab). Our second frame would have a small part of the text visible, our third frame should reveal even more, and so on.
Keep in mind that you’ll have to limit the amount of frames within the banner to keep the file size low. Figuring out the correct amount of frames and the correct movement patterns is mostly trial and error, but the last frame of the animation should obviously have the entirety of your text box visible.
It’s possible to customize the timing between your frames so that it would not look too slow, you can go down to 0.1 second delay per frame. You can do it using the “0.1 sec.” line below each frame. To make sure that your timing is correct, you can use the “play” button to play your animation as it would be in the final product.
Additionally, we can also add a static “button” of sorts that would include our CTA (Call-to-action). Such a button could be added and edited through the regular image editing means, and you can also turn it on and off for different frames of your animation to attract attention to it, if you want to.
Saving the results of our animation efforts is also important so that they could be uploaded to act as your GIF banner. Click File -> Save for Web, choose the GIF type and change the Quality tab, if needed. Choose “Save” to finish the process.
Photoshop is a known participant of the image editing market, and the amount of features that it offers is downright staggering – image editing, animation, and so much more than that. Our example is the most basic one, you can do much more in Photoshop if you have the time and patience to figure out more complex systems and menus.
Understandably enough, Photoshop is not the only option when you want to know how to make a GIF banner. Another relatively similar example of such a tool is GIF Banner Designer 5.0.
GIF Banner Designer 5.0 and animating banners
As one of the options for people that find Photoshop too complicated, GIF Banner Designer’s main purpose is creating animation in a relatively simple fashion. There’s a large library of templates included, and the overall interface is relatively easy to understand.
Let’s go over the simplified process of working with GIF Banner Designer:
As usual, you’ll begin with the choice between using a template and creating your own document to work with. Unlike Photoshop, GIF Banner Designer offers you a number of built-in templates for you to choose from.
Choosing either the background color of your document or uploading the background image is the next step of the process.
Many different objects could be added to your future banner to customize it, and there’s also a “Properties” tab that could help with changing objects’ parameters however you see fit.
The effects of your banner could be customized within the “Effects” tab, and you can also add some transition effects using the “Transition” tab.
Other adjustments to your image are possible via both the left menu of the program, as well as the lower menu that offers you the ability to work with frames and animations the same way that Photoshop does.
The correct way of saving your future banner is by going through File -> Save As and choosing the GIF format.
The similarities between Photoshop and GIF Banner Designer are obvious enough for everyone to see, but that’s not to say that there are no tools on the market that are completely different from Photoshop's approach. Now we’ll look over some of the examples of popular online tools that offer image editing and/or animating features.
How to make a GIF banner using online tools and appliances
Unlike the previous examples, there’s a surprising variety in the way that some online animating tools are operating, which is why we’ll focus on some of the more unusual ones in this list. Here’s our top-5 online animation tools for someone who’s searching how to make a GIF banner:
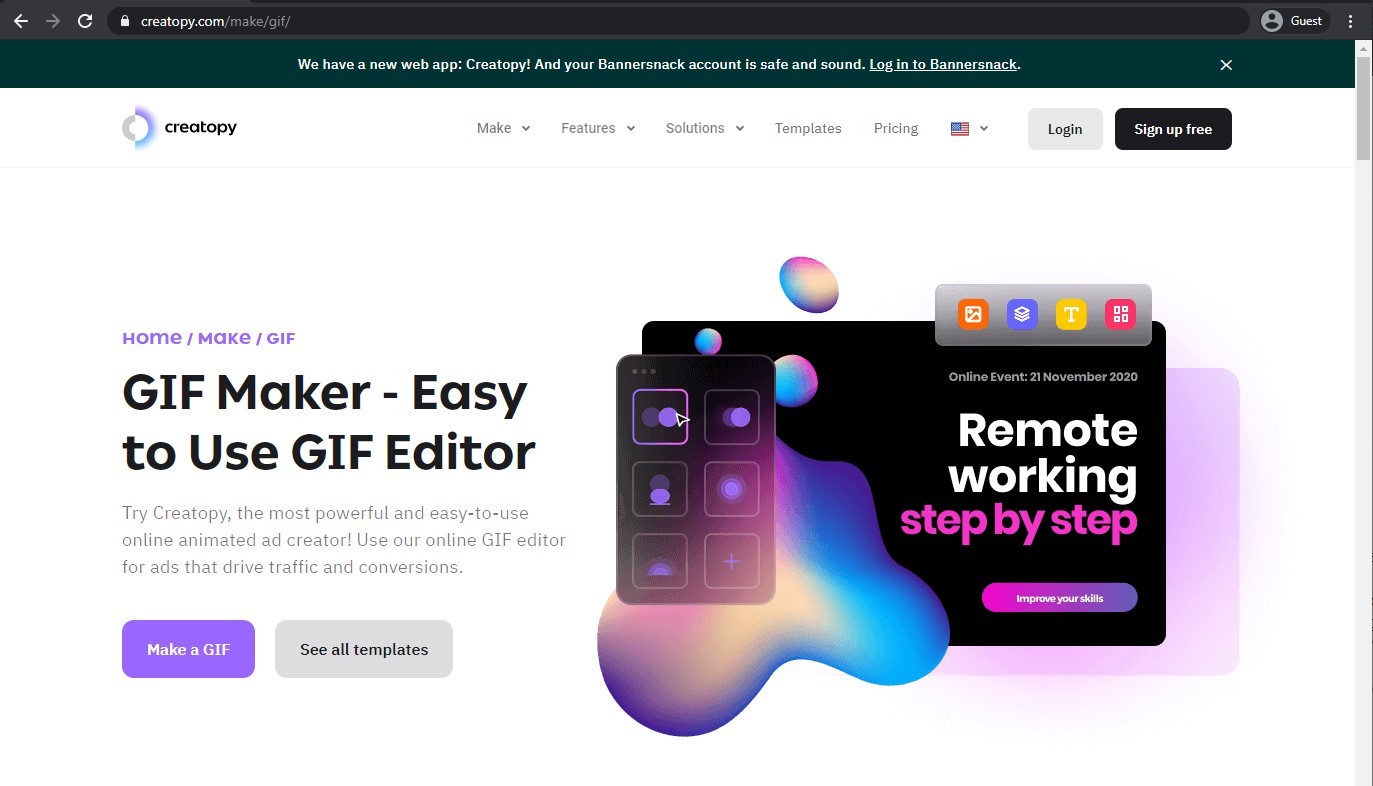
Creatopy landing page
In a fashion that is relatively similar to what Photoshop has to offer, Creatopy is a versatile online image editing tool that also offers animating capabilities. The animation itself is done via a well-known timeline-styled method, and there are also some general transition presets that can be applied to the entirety of your banner at once. The generally user-friendly interface and the vast amount of image editing features allows Creatopy to satisfy a lot of different people with different goals.
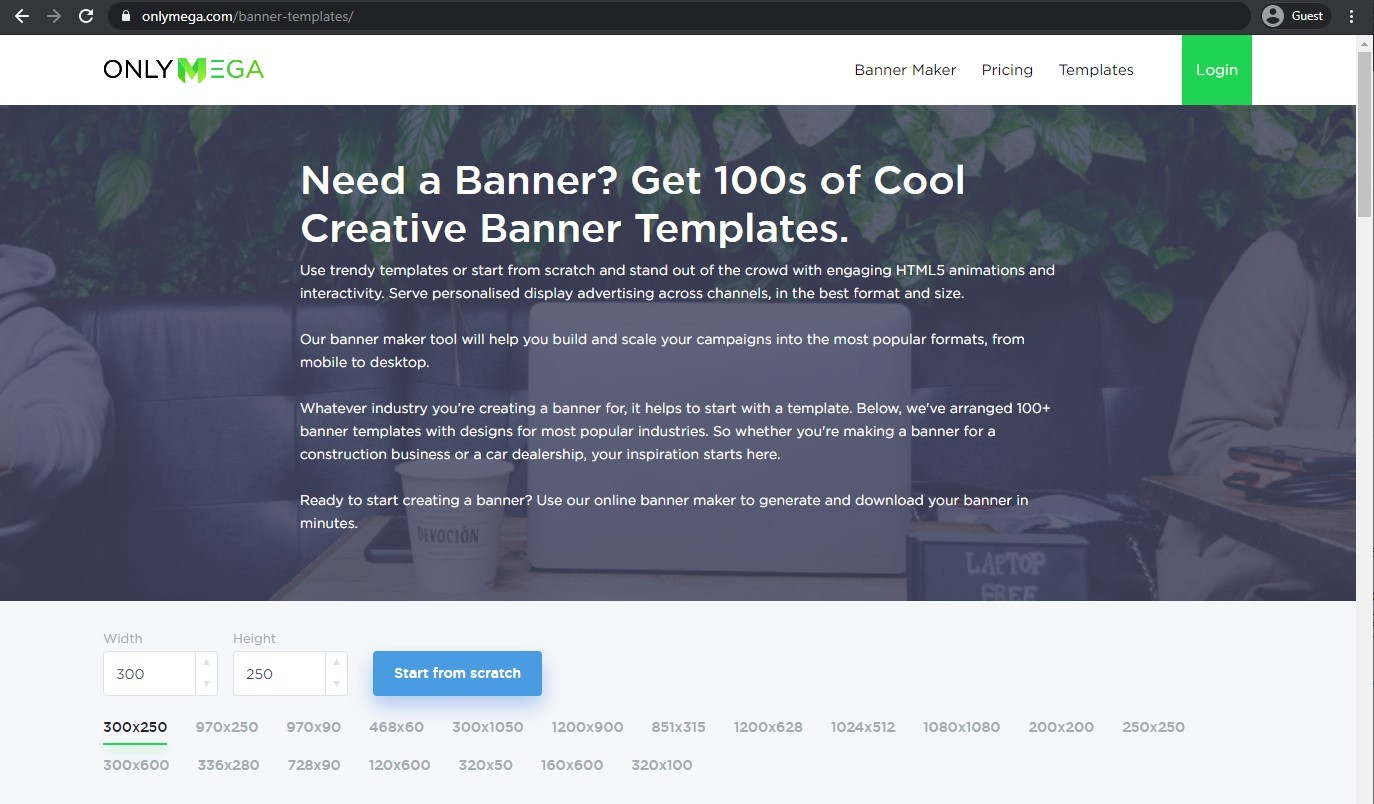
OnlyMega landing page
Another twist on the image editing online software is OnlyMega, offering vast animation-related capabilities. A large library of images and objects and the overall user-friendly interface allows OnlyMega to create sophisticated animations and beautiful banners with surprising ease. That being said, its image editing capabilities as a whole are somewhat limited, but the range of animation-related features more than covers for that caveat.
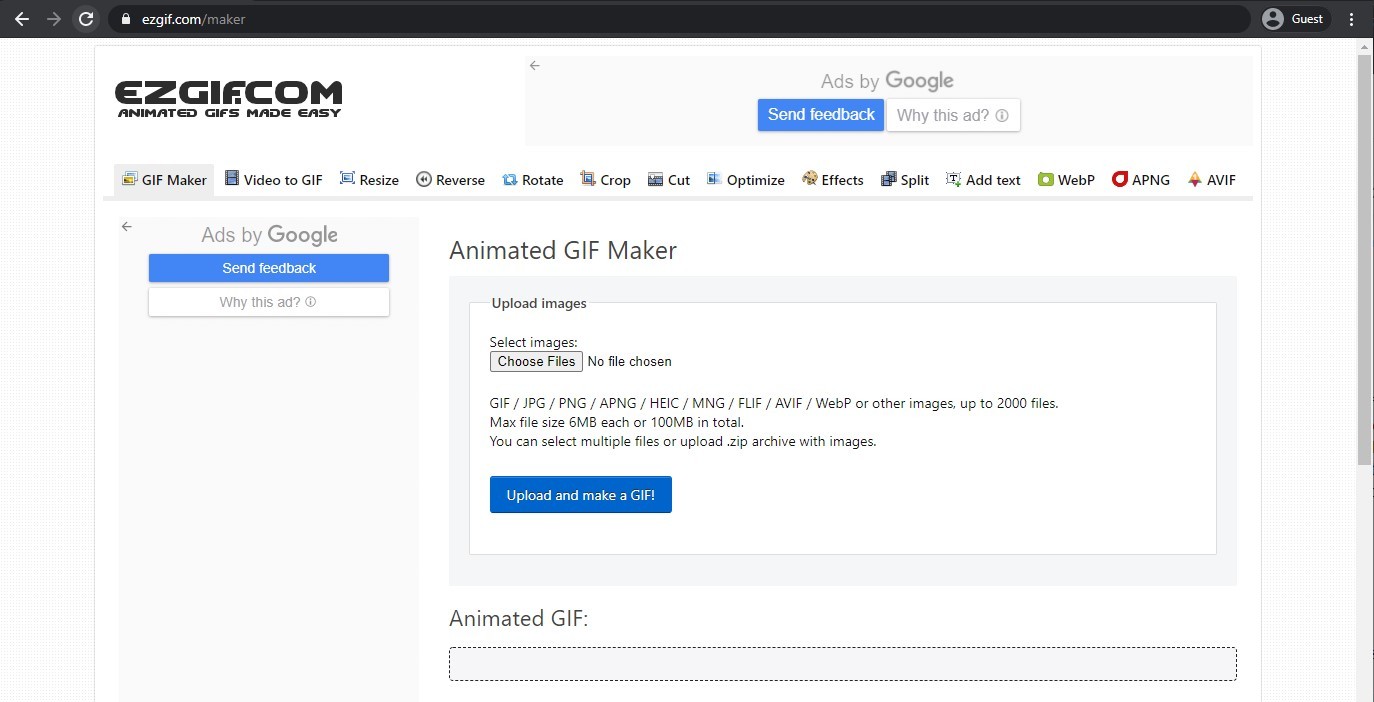
Ezgif.com landing page
A completely different example, Ezgif works with a limited toolkit of image resizing, cropping, cutting and converting, and that also includes basic animating capabilities. This tool needs pre-existing images to work with and does not support most of the features that were discussed above, being limited to playing a number of images within a variable time frame. At the same time, it still is a plausible option for someone that needs the bare-bones animation and nothing more.
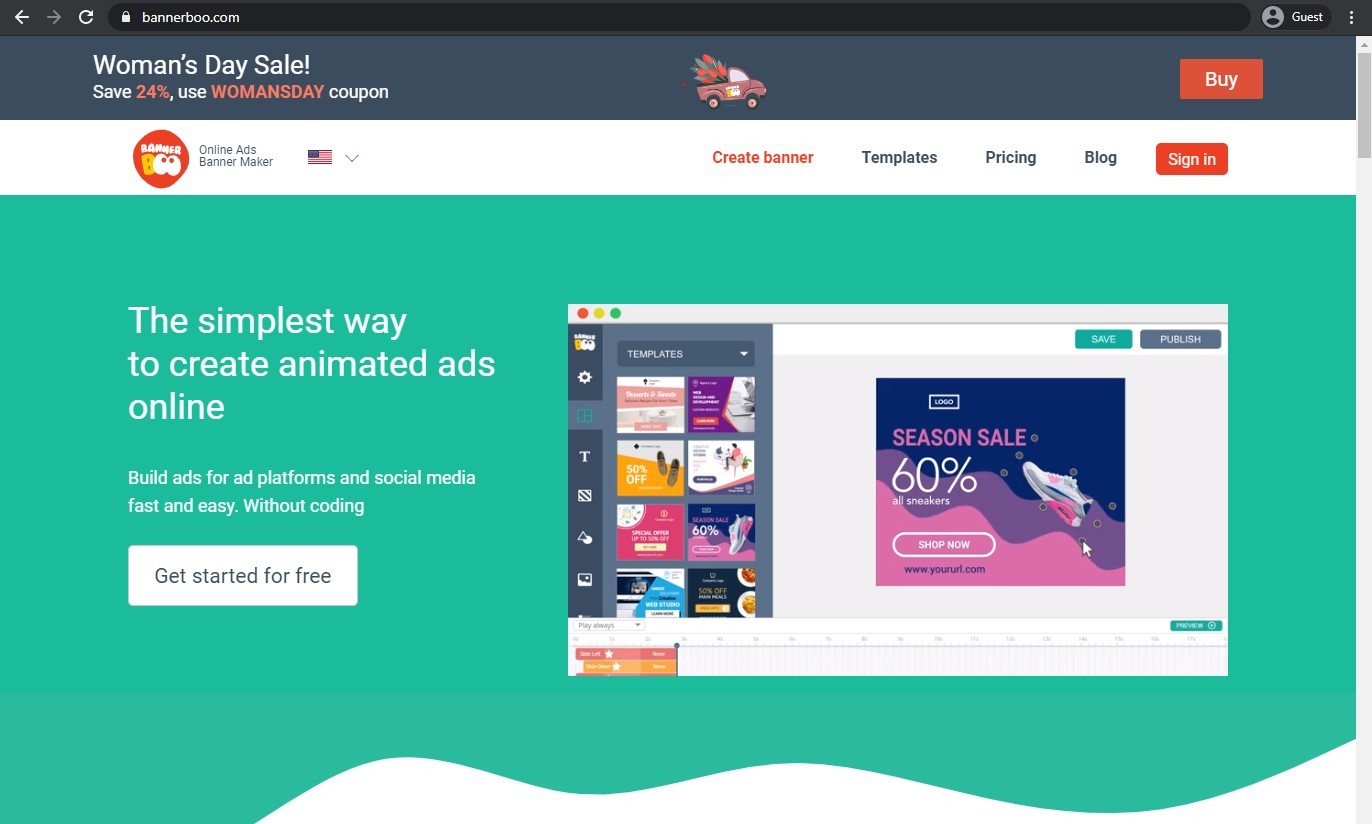
BannerBoo landing page
One thing that stands out for BannerBoo is its unusual design of a timeline menu, which looks similar to some of the Gantt charts. Fortunately, these are much easier to work with than the actual Gantt tables. Other than that – it offers most of the regular features of any online image editing/animating tool, has a lot of templates and objects in its database, and offers a relatively easy-to-use interface.
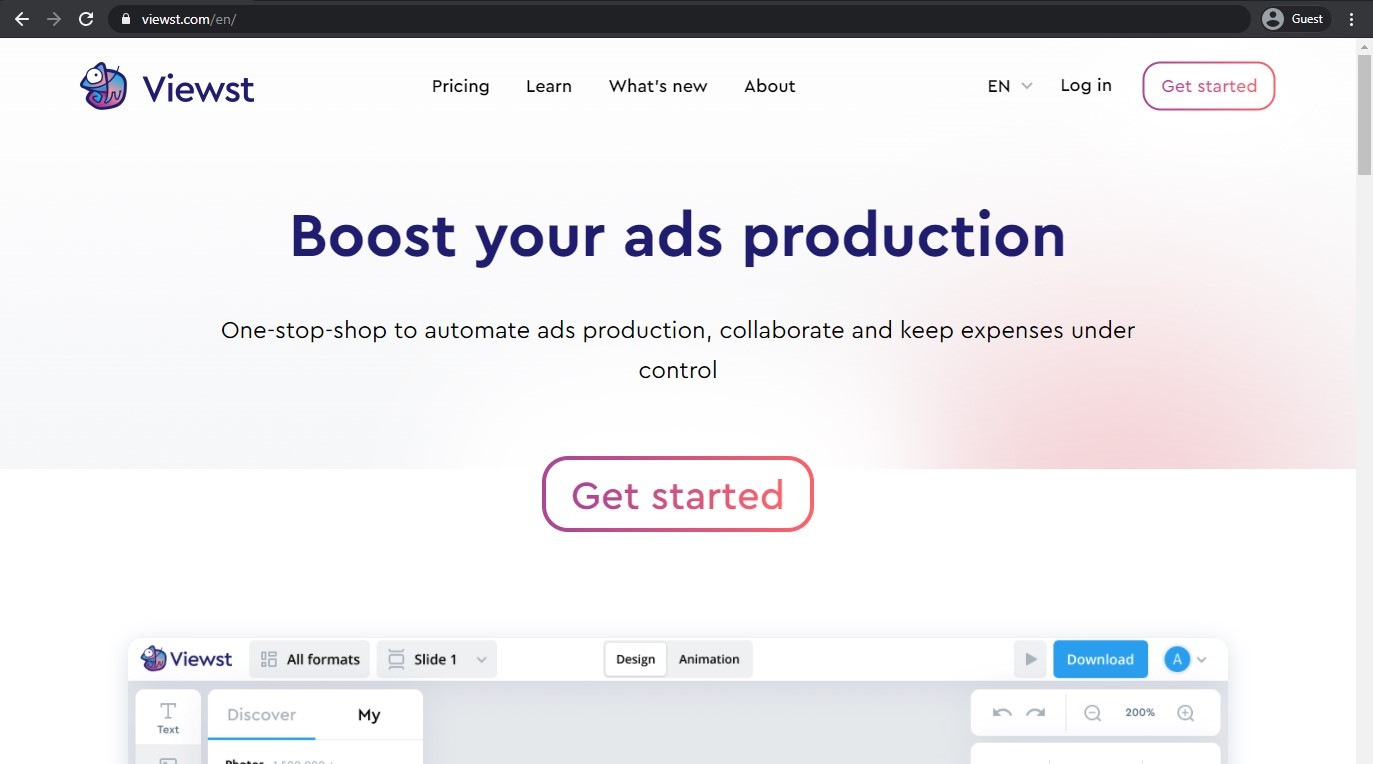
Viewst landing page
Viewst is a comprehensive advertisement building platform that offers plenty of features focused on making the best ads possible. Image editing, animating, and more – all of it is available to every user of Viewst, as well as the overall simplistic interface, useful drag-and-drop animation timeline, and other features to make the most out of your banner editing efforts.
Conclusion
Animated banners have a slightly easier time of attracting viewers’ attention to themselves, and this is why they are so popular right now. As an extent of this popularity, the market of animation-related tools is also highly competitive and varied, offering many different options when it comes to figuring out how to make a GIF banner through various means.
If you want to, you can do everything in Photoshop or some of the tools that work in a similar fashion. At the same time, you can go for something more experimental and get great results, too. Most of the time the only limit for the creativity of your animated GIF banner is your imagination.
Victoria is the CEO at Viewst. She is a serial entrepreneur and startup founder. She worked in Investment Banking for 9 years as international funds sales, trader, and portfolio manager. Then she decided to switch to her own startup. In 2017 Victoria founded Profit Button (a new kind of rich media banners), the project has grown to 8 countries on 3 continents in 2 years. In 2021 she founded Viewst startup. The company now has clients from 43 countries, including the USA, Canada, England, France, Brazil, Kenya, Indonesia, etc.

